

3D Printed Part Finishing: Why Metal 3D Printed Parts Need Their Own Finishing Strategy
Additive Manufacturing Post-Processing: Surface Finishing Solutions for Metal 3D Printed Parts
Metal 3D printing has opened up a world of manufacturing possibilities that simply didn’t exist a decade ago. Parts that used to require complex multi-step machining or couldn’t be made at all are now rolling out of additive manufacturing systems every day. Aerospace engineers are lightweighting components in ways CNC machining never allowed. Medical device manufacturers are producing custom surgical tooling on demand. Automotive teams are iterating through design changes in days instead of weeks.
But here’s the thing: when a metal part comes off a 3D printer, the surface is much rougher than anything produced by traditional machining. And if you want that part to function the way it’s supposed to, or look the way your customer expects it to, you have work to do.
That’s where surface finishing comes in. And for metal 3D printed parts, it’s not as simple as running the same process you’d use on a traditionally manufactured component. This article breaks down what you actually need to know, from why these parts demand a custom approach to the tools and processes we use to get them where they need to be.
Why Metal 3D Printed Parts Demand a Different Finishing Approach
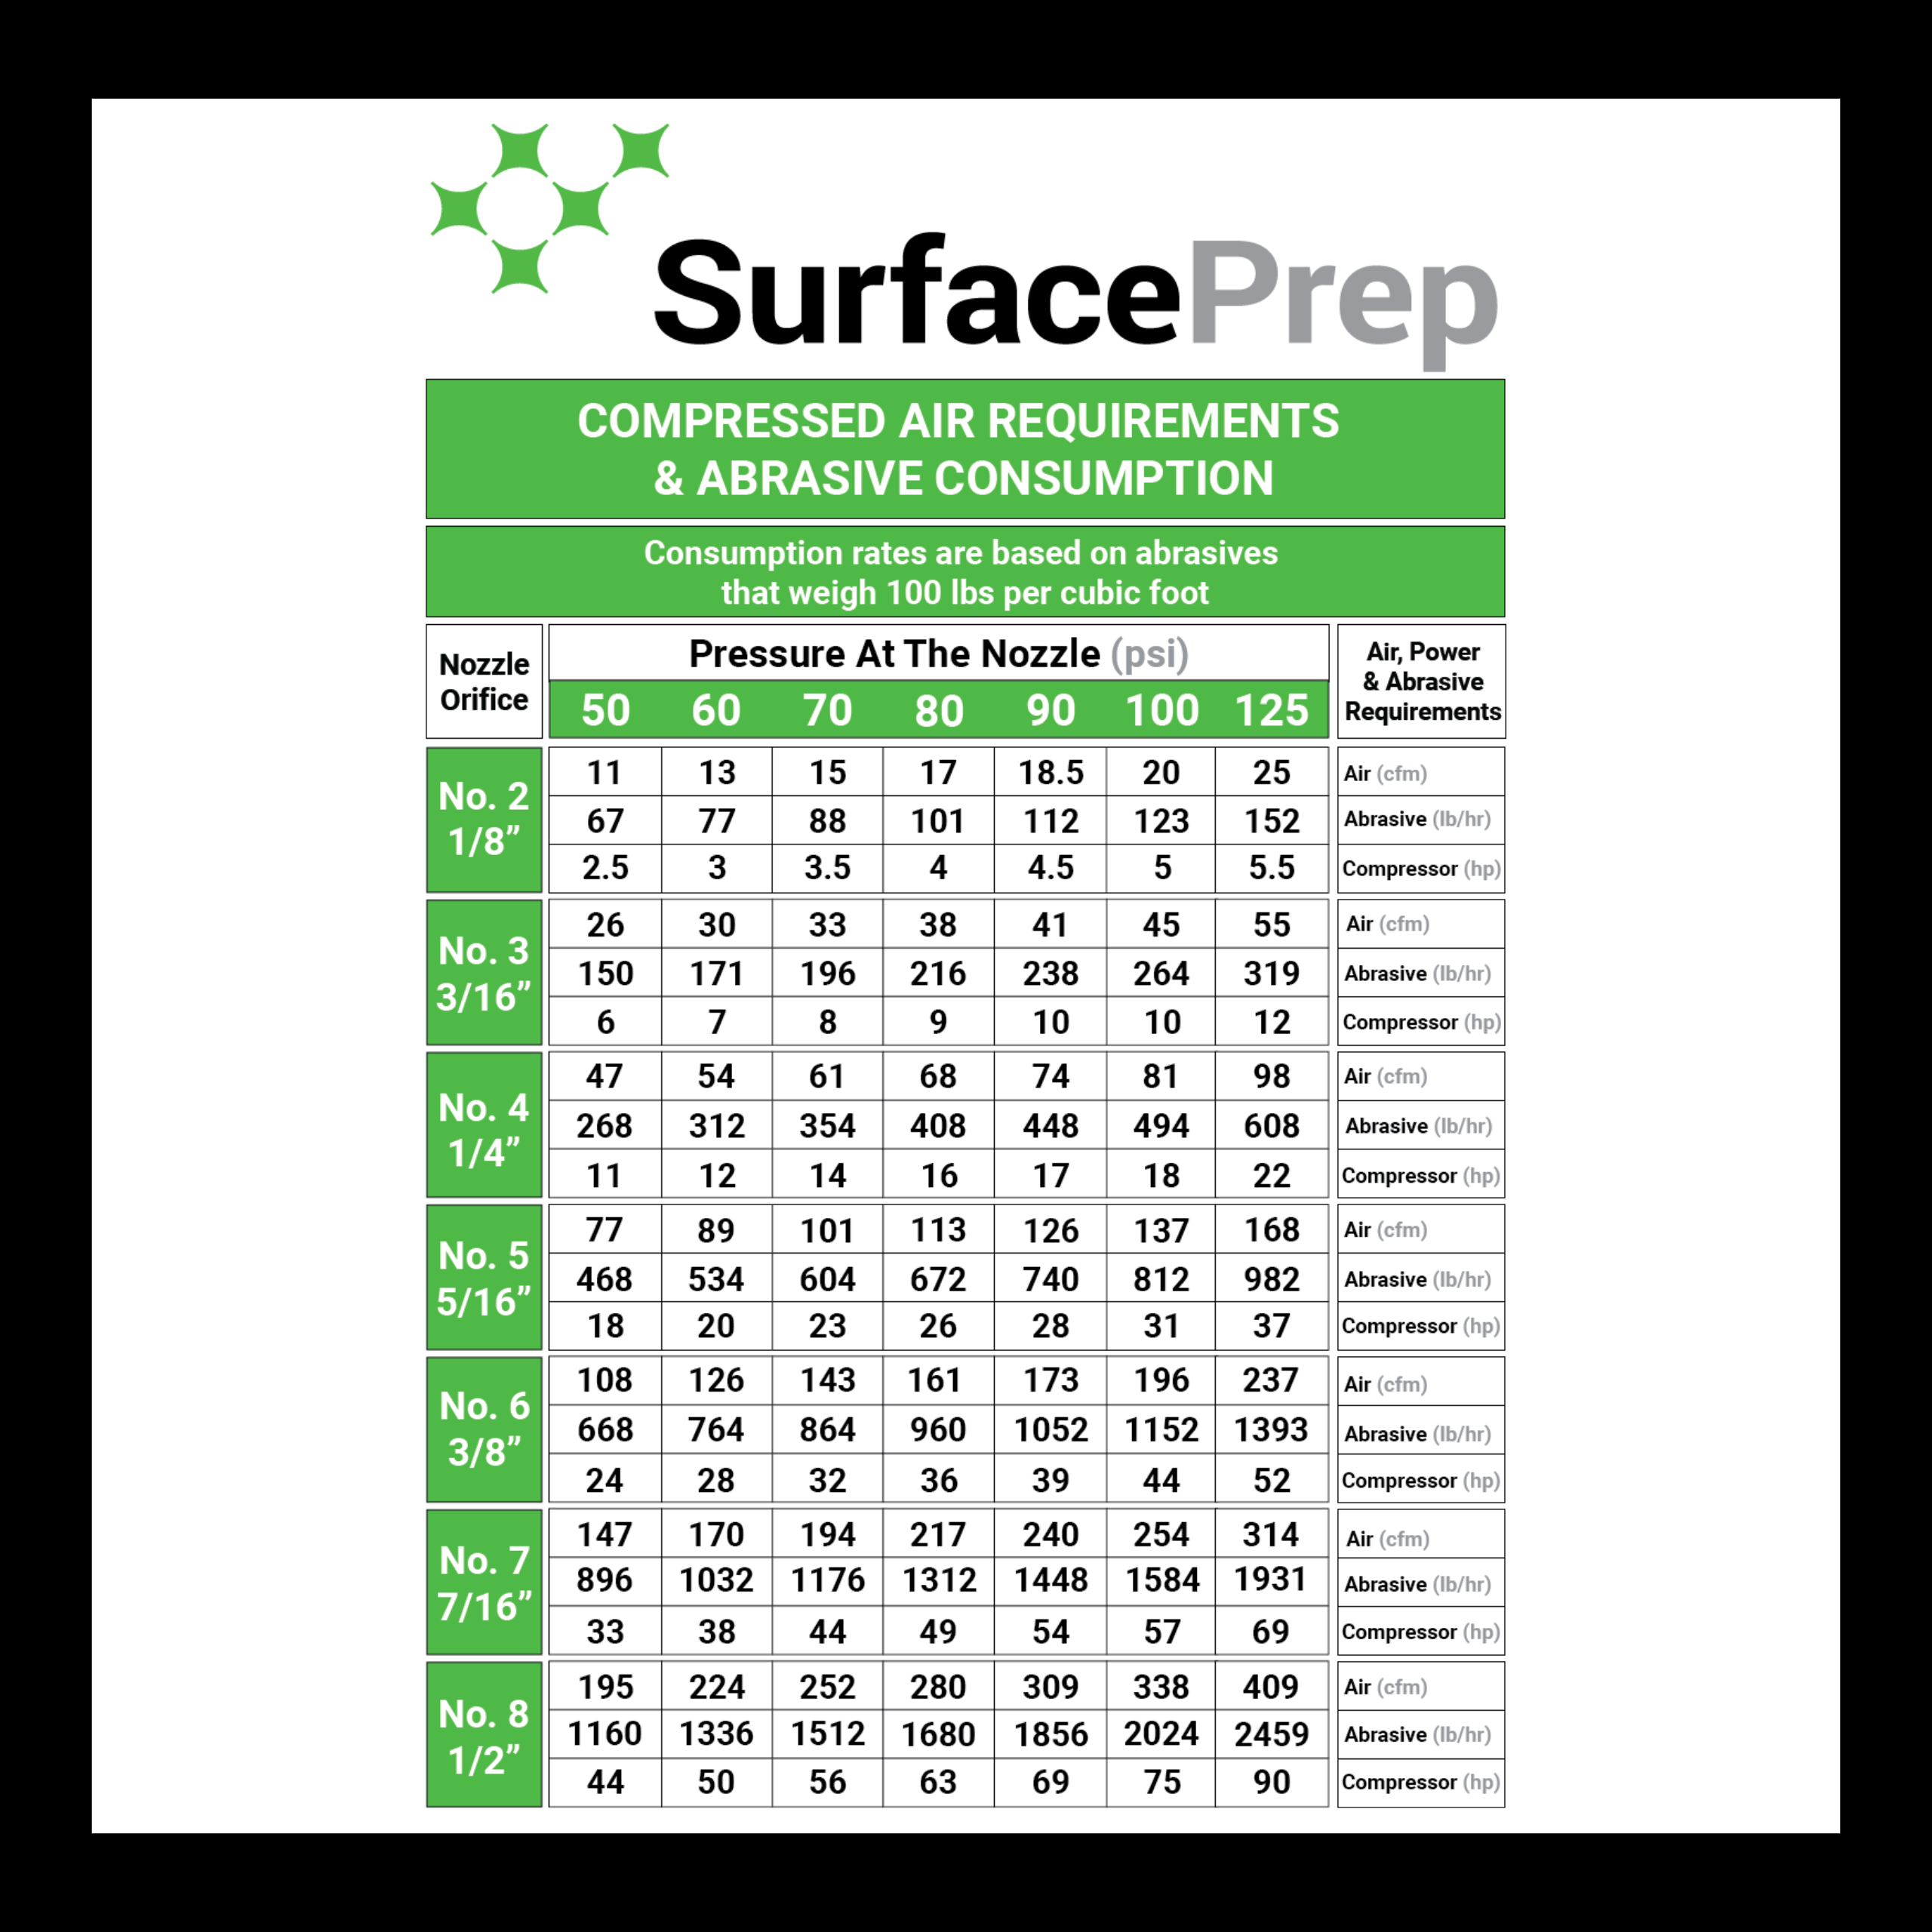
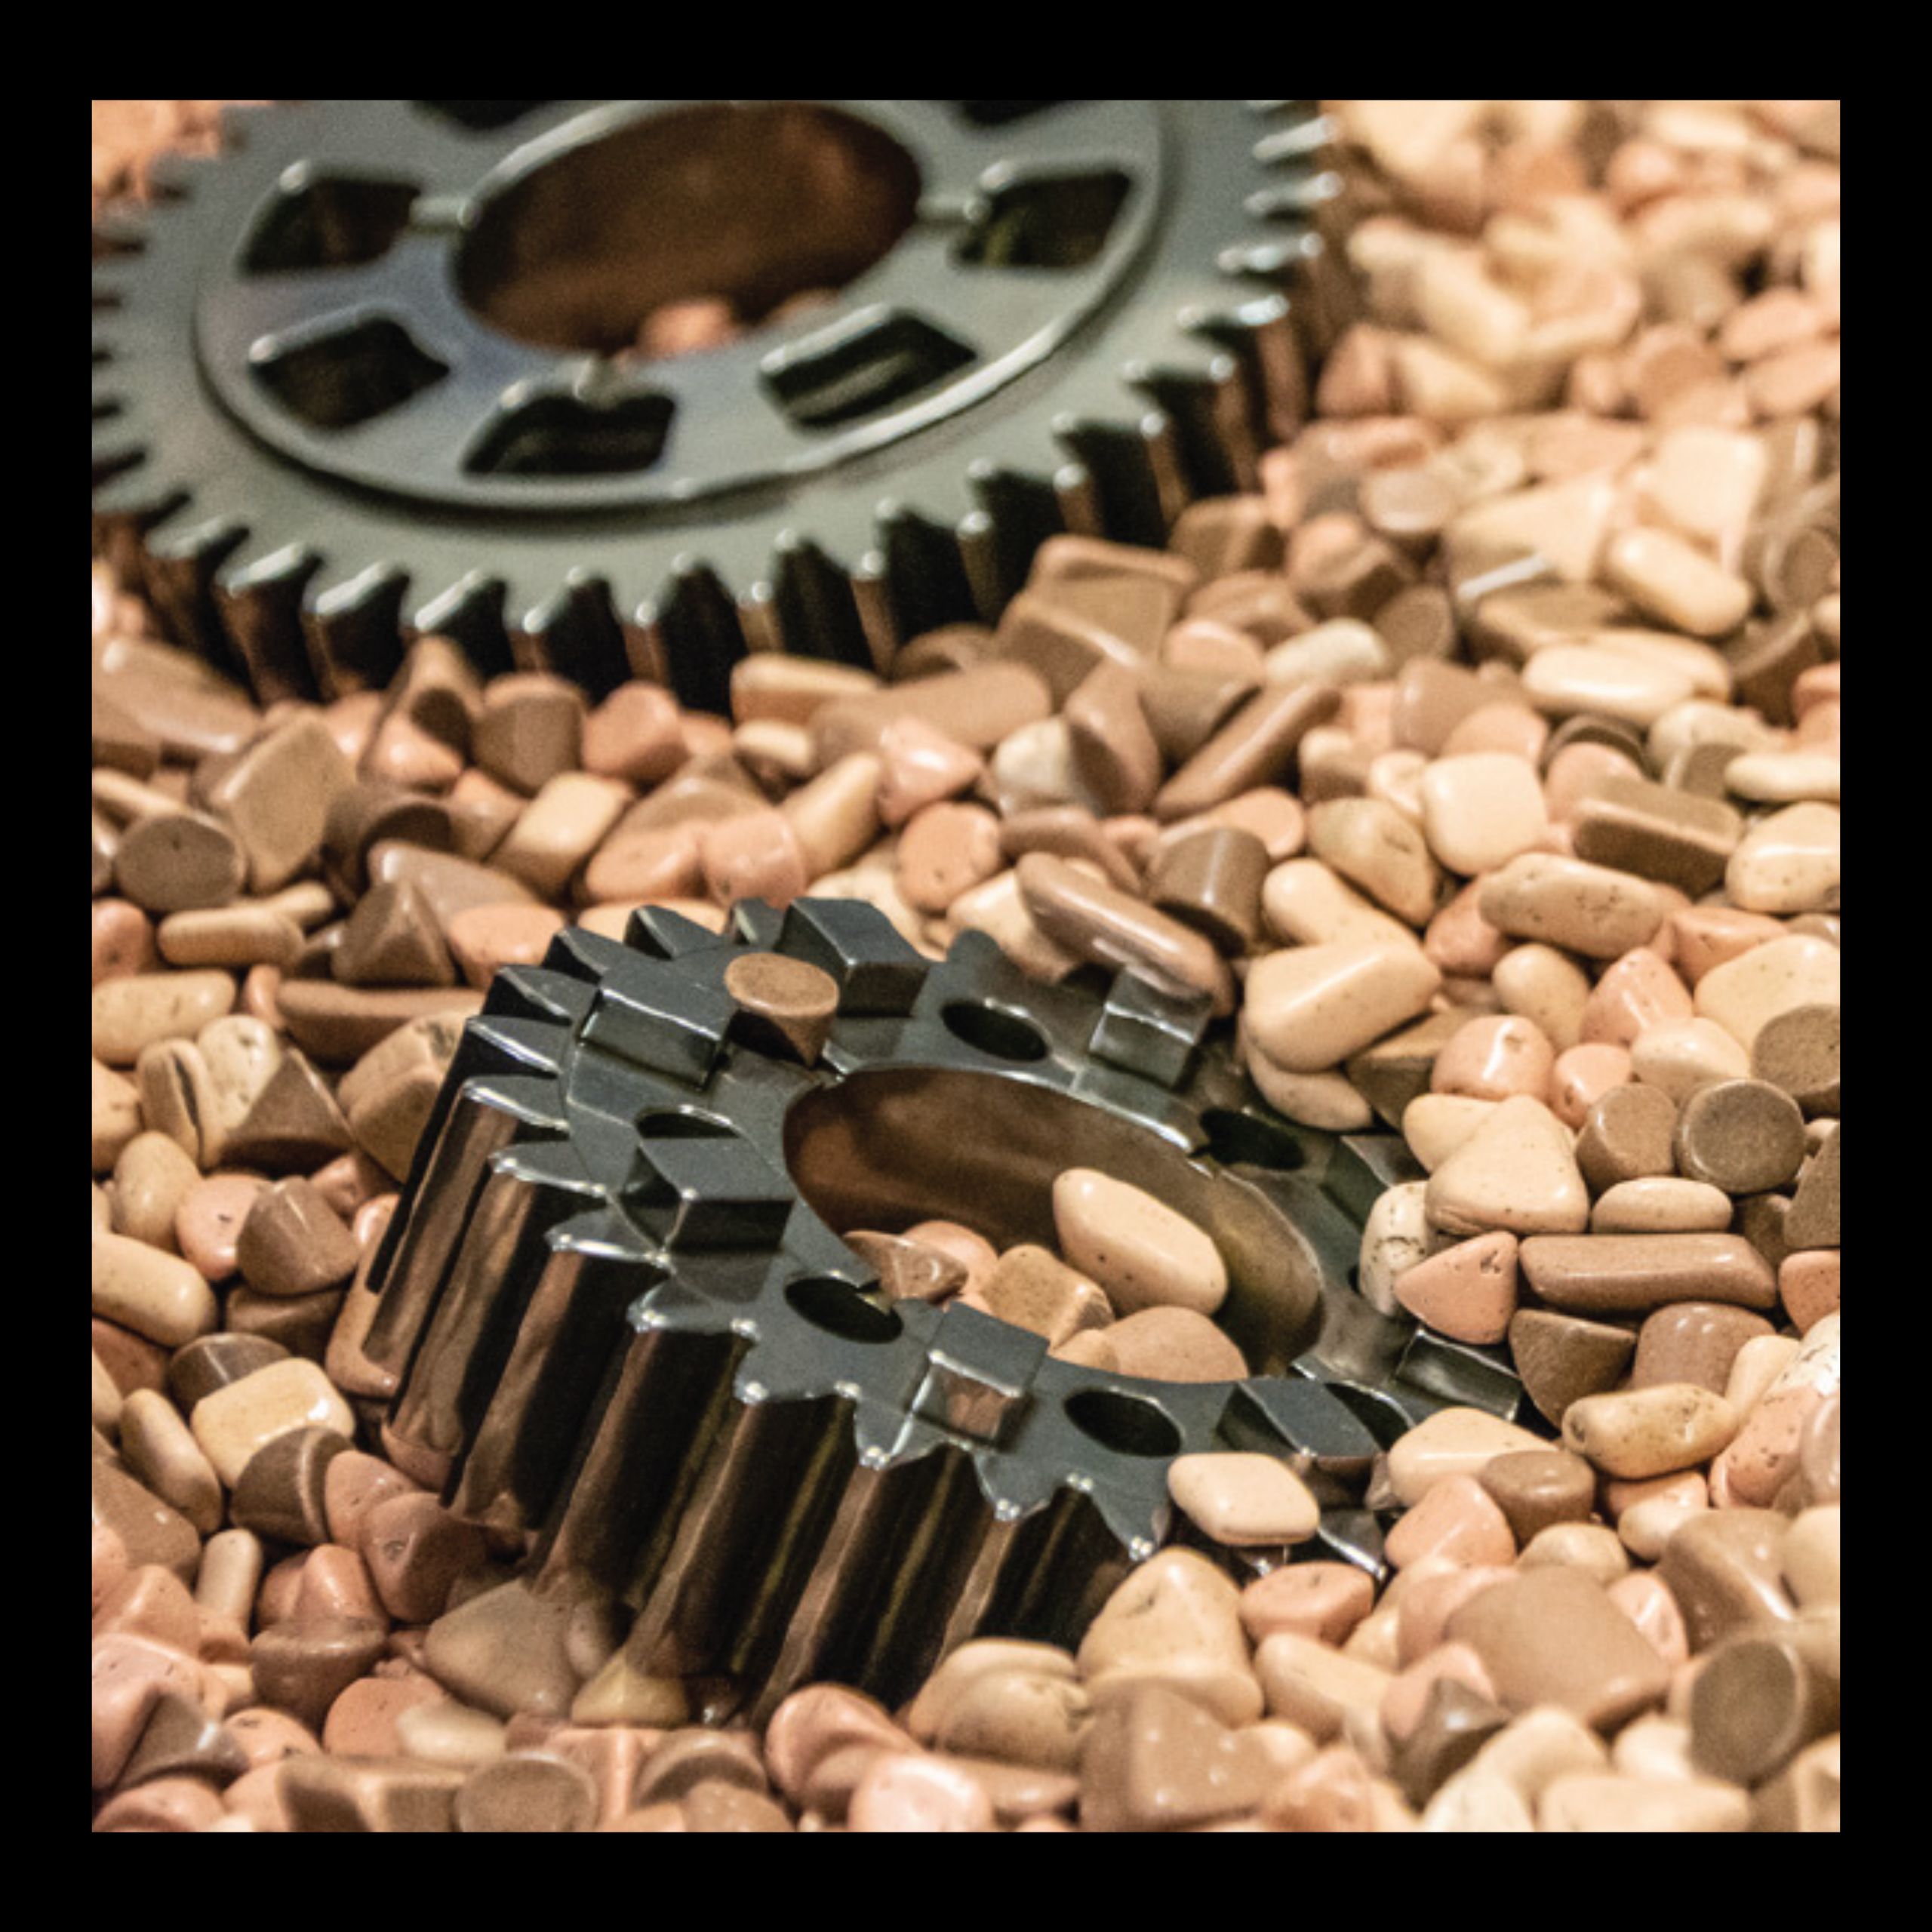
Let’s start with a number: 350 to 500. That’s the typical RA (roughness average) measurement for a metal part coming straight off a 3D printer. RA is how we measure surface roughness — the lower the number, the smoother the finish. For context, a part machined on a CNC might come off at 50 to 60 RA, and most applications want to see it under 30. Some customers we work with need parts under 10. We’ve even had requests for under 1 RA, which is approaching the smoothness of glass. So when a metal 3D printed part arrives at 400 RA, and the end-use spec calls for 25, that’s a significant gap to close.
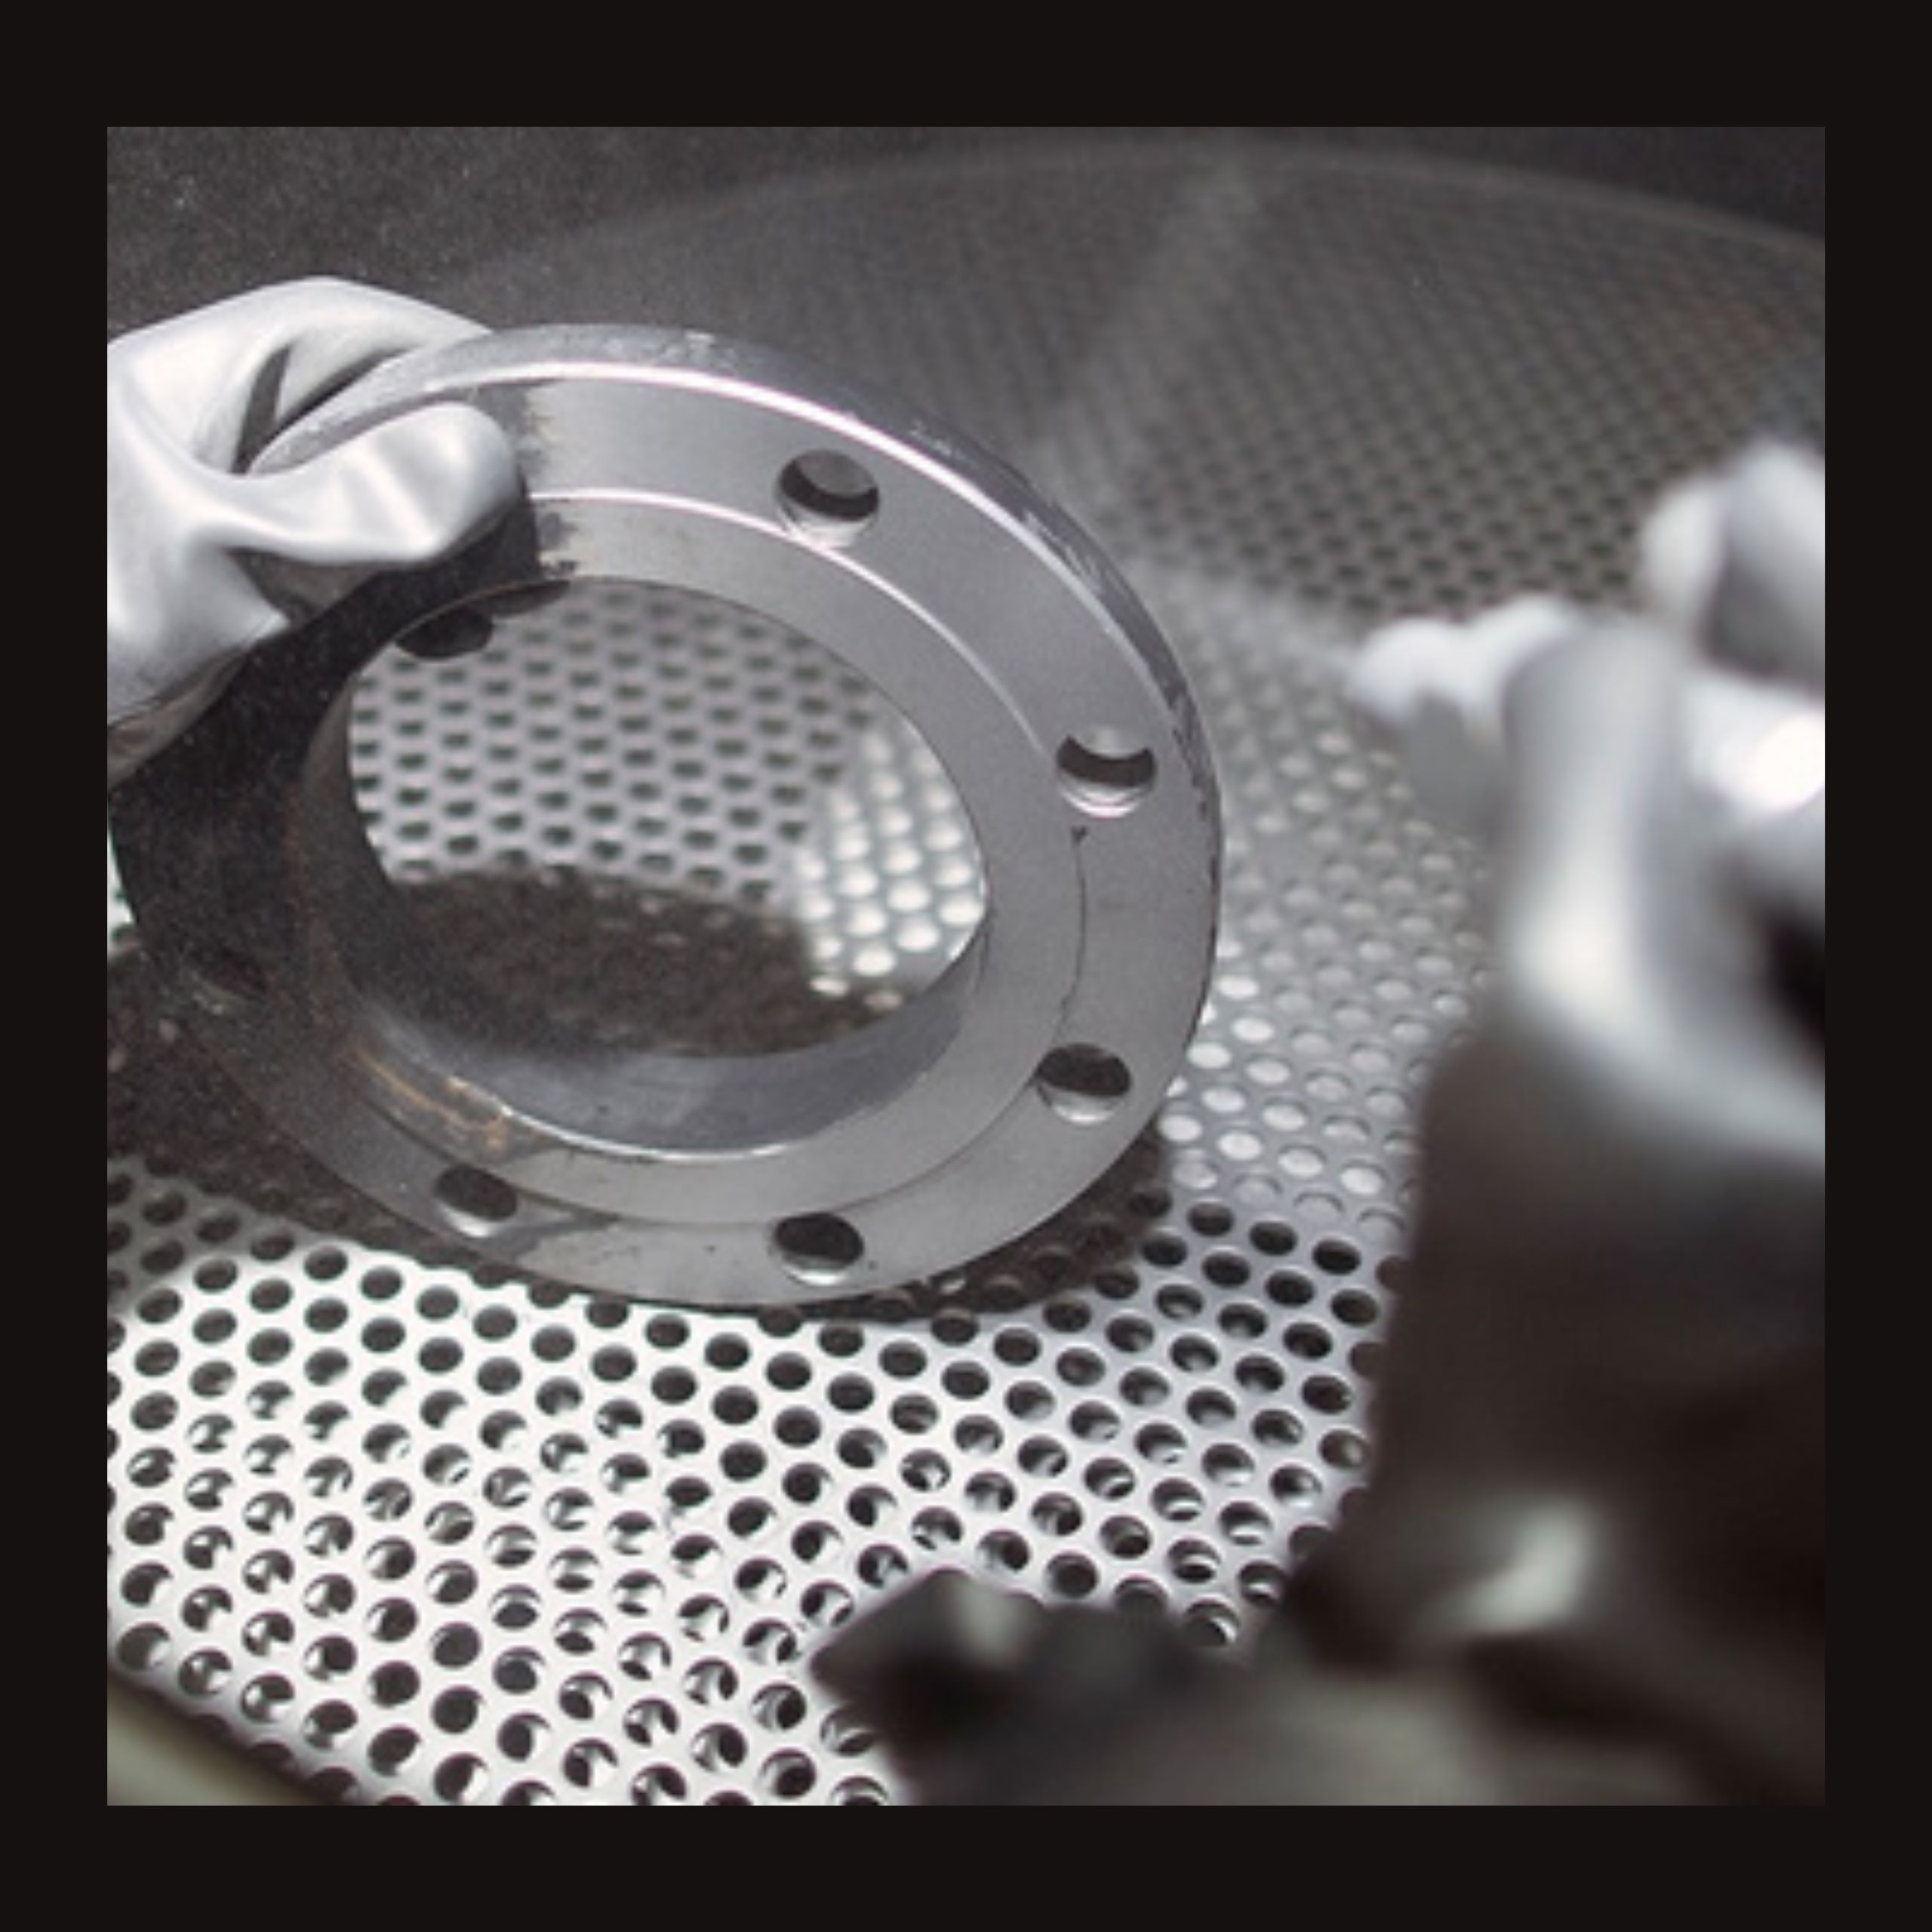
Beyond surface roughness, the geometry of 3D printed metal parts creates finishing challenges that don’t exist with traditionally machined parts. Additive manufacturing allows engineers to build things that CNC machining cannot produce — hollow internal channels, lattice structures, and highly contoured internal cavities. A spiderweb geometry that would require removing 90% of raw material from a block in a CNC setup can be 3D printed by adding only 10% of the material needed.
That’s a remarkable capability. But those internal geometries present new finishing challenges. Metal powder used in powder bed fusion printing has the consistency of flour, and it gets into every cavity, channel, and corner of a part. Getting that powder out before the part goes into a furnace is important because if residual powder cures into those internal spaces, it becomes part of the part. You end up with blocked channels, compromised flow, and potentially a part that fails in service. For aerospace applications where air or fluid flow is critical, that’s not a risk anyone wants to take.
The Two Goals of Additive Manufacturing Post-Processing: Surface Finishing Solutions for Metal 3D Printed Parts
When we talk to customers about finishing metal 3D printed parts, every conversation ultimately comes back to one question: what does this part need to do? And the answer almost always involves two things — how it performs and how it looks.
The Cosmetic Goal
A rough, visibly printed surface is often unacceptable to end customers. People have an expectation of what a quality part looks like. If you open a panel on a piece of precision equipment and see a component that looks like it was printed from scratch and never touched again, it doesn’t inspire confidence, even if it meets every functional spec. In high-value industries like aerospace, where parts cost thousands, manufacturers want parts to look as precise and refined as they perform.
On the plastic side, vapor smoothing gives printed parts an injection-molded appearance that customers expect. Metal parts carry the same expectation: they should look like traditionally manufactured components when the application calls for it.
The Performance Goal
For many metal 3D-printed parts, surface finish directly affects how the part functions. Think about a component designed to manage fluid flow or air dynamics. Even small amounts of surface roughness create turbulence, resistance, and drag that measurably affect performance. We’ve had conversations where customers bring in animated data showing exactly how a rougher surface reduced flow rates, changed pressure characteristics, or introduced aerodynamic disturbance at the micro level. For those applications, finishing is an engineering requirement.
In practice, most customers want both, a part that performs to spec and looks the part. The finishing process has to address both goals, which is exactly why there’s rarely a single-step solution. Getting a metal 3D printed part from 400 RA to 25 RA while also ensuring it looks refined and professional usually takes a combination of methods applied in sequence. The right sequence depends on the part, the material, and the application.
The Post-Processing Toolkit: How Surface Finishing Solutions for Metal 3D Printed Parts Work
There’s no single machine that solves every metal finishing challenge. The toolkit we draw from includes several core methods, and the real skill is knowing which ones to apply, in what order, and with what media. Here’s how each one works.
Depowdering
Depowdering is always the first step for powder-based metal printing processes, and it requires more care than people expect. Before a part goes into the furnace for curing, it exists in what’s called a “green” state — essentially, it’s held together by a binder, but it hasn’t been hardened yet. The consistency at this stage is something like a crayon. It’s fragile. You have to remove the residual powder without damaging the part itself, which means using gentle media and controlled pressure. Too aggressive, and you compromise the part before it ever gets cured. After curing, you may need a second depowdering pass to clean up any remaining powder that was more tightly bonded during the heat process. The goal is simple: get the part clean inside and out before anything else happens to it.
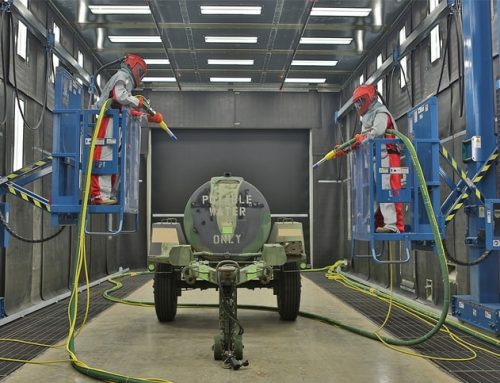
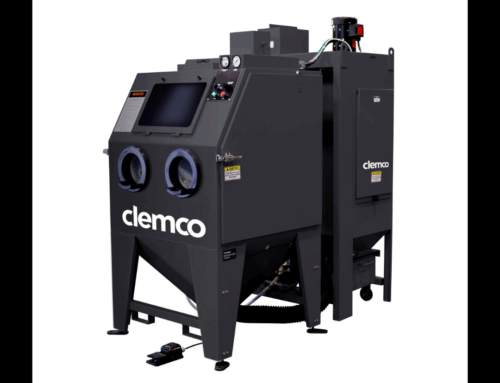
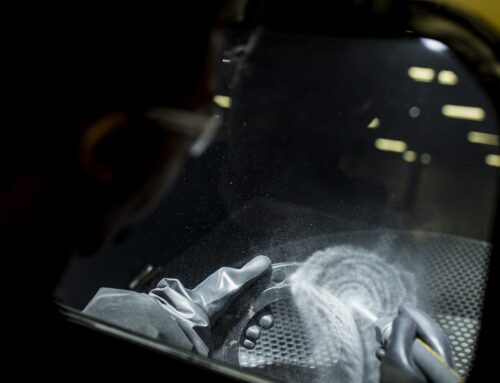
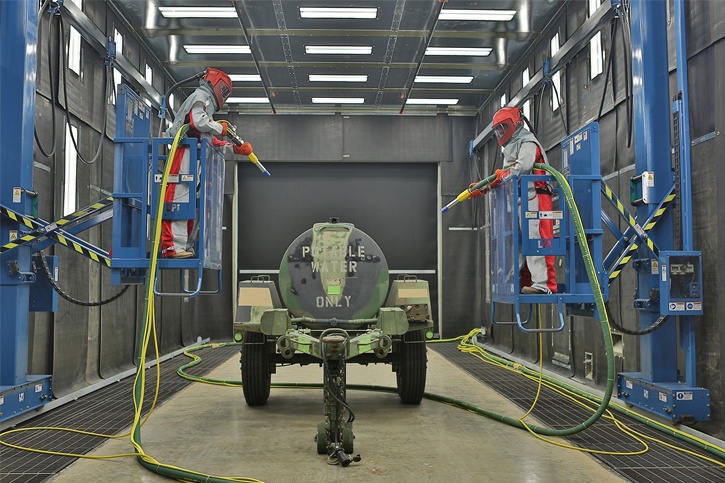
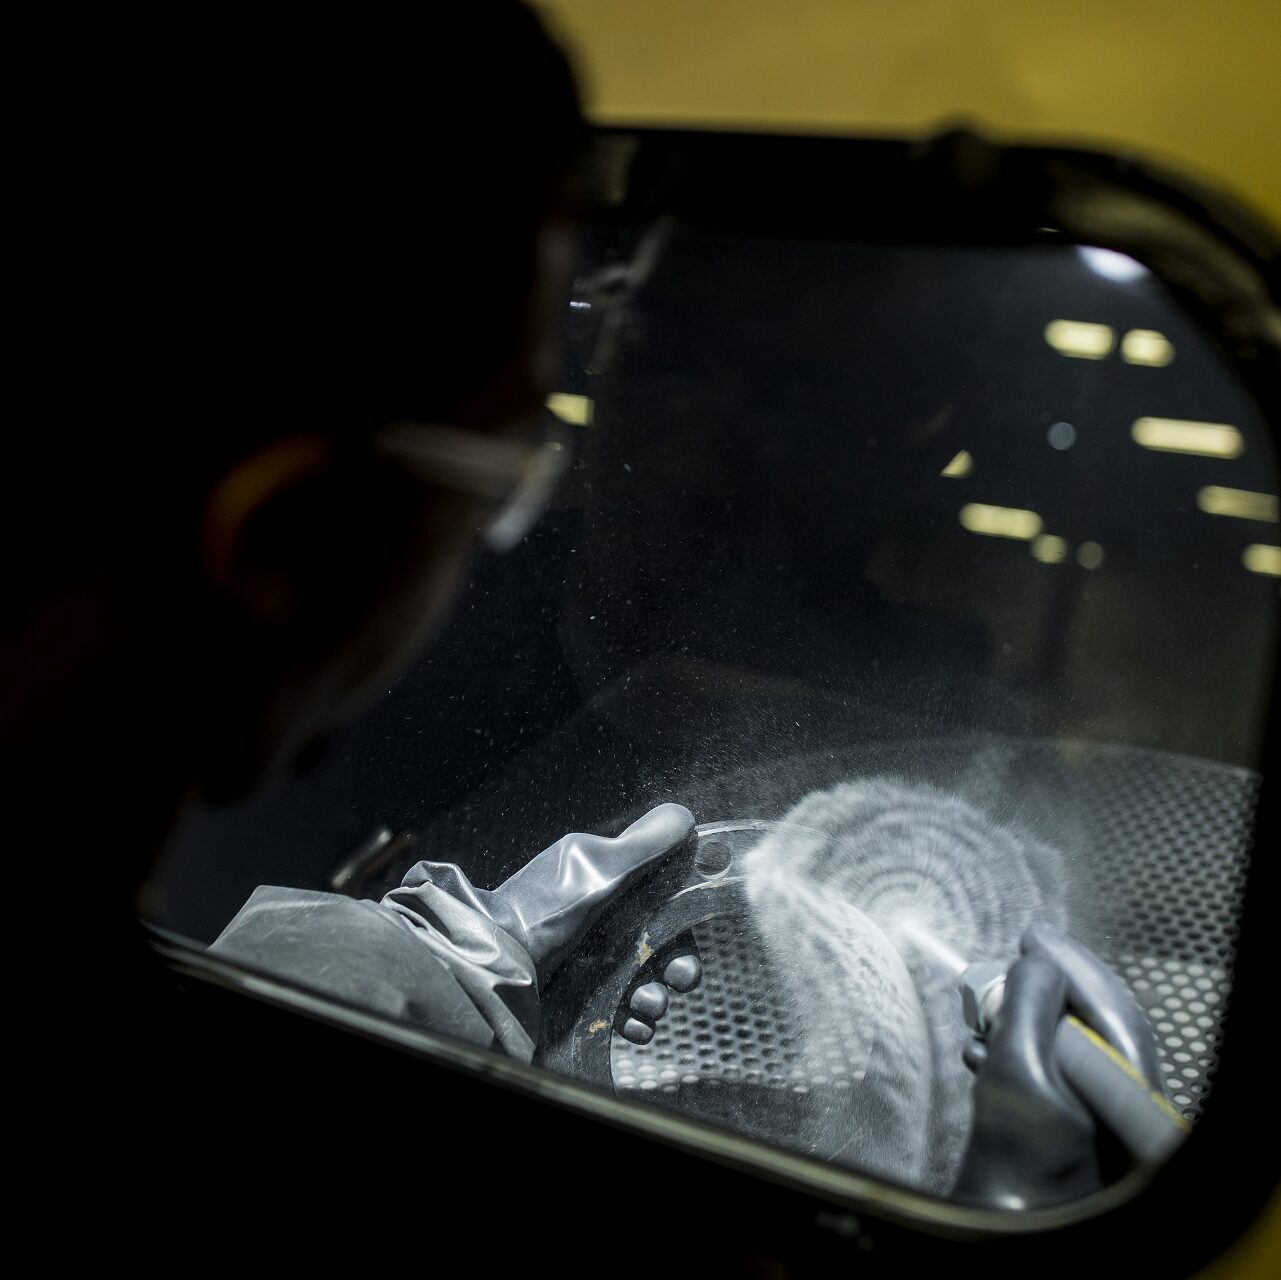
Blasting
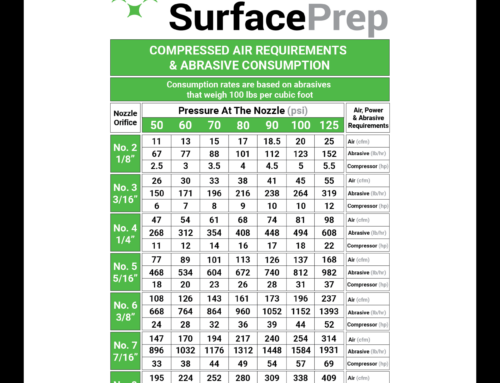
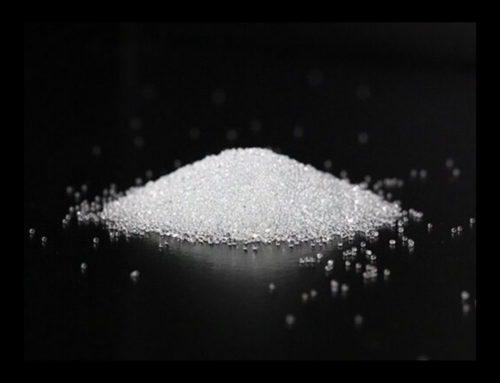
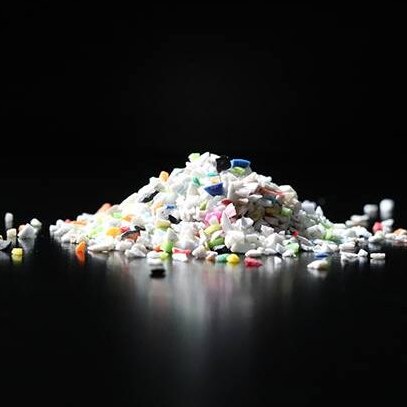
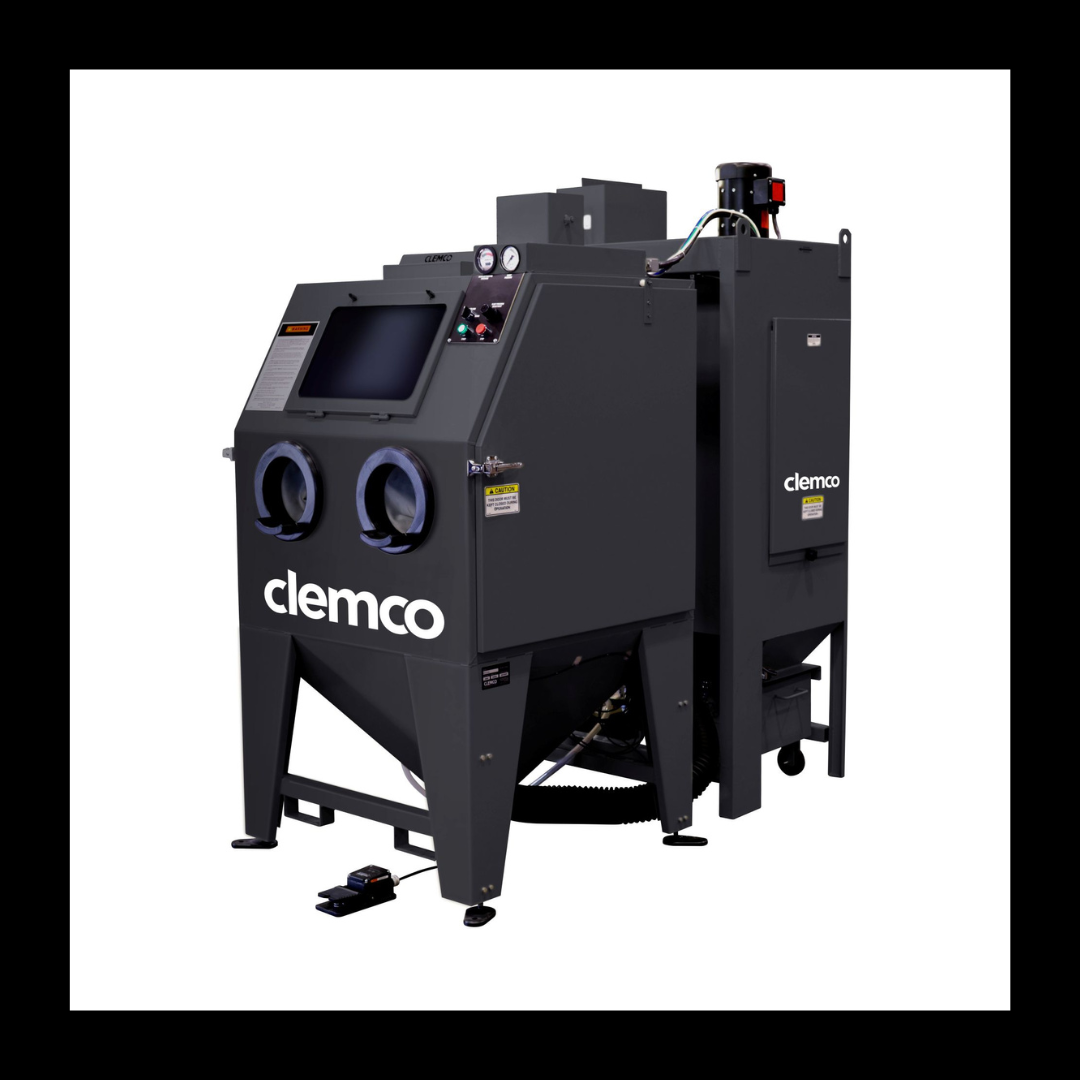
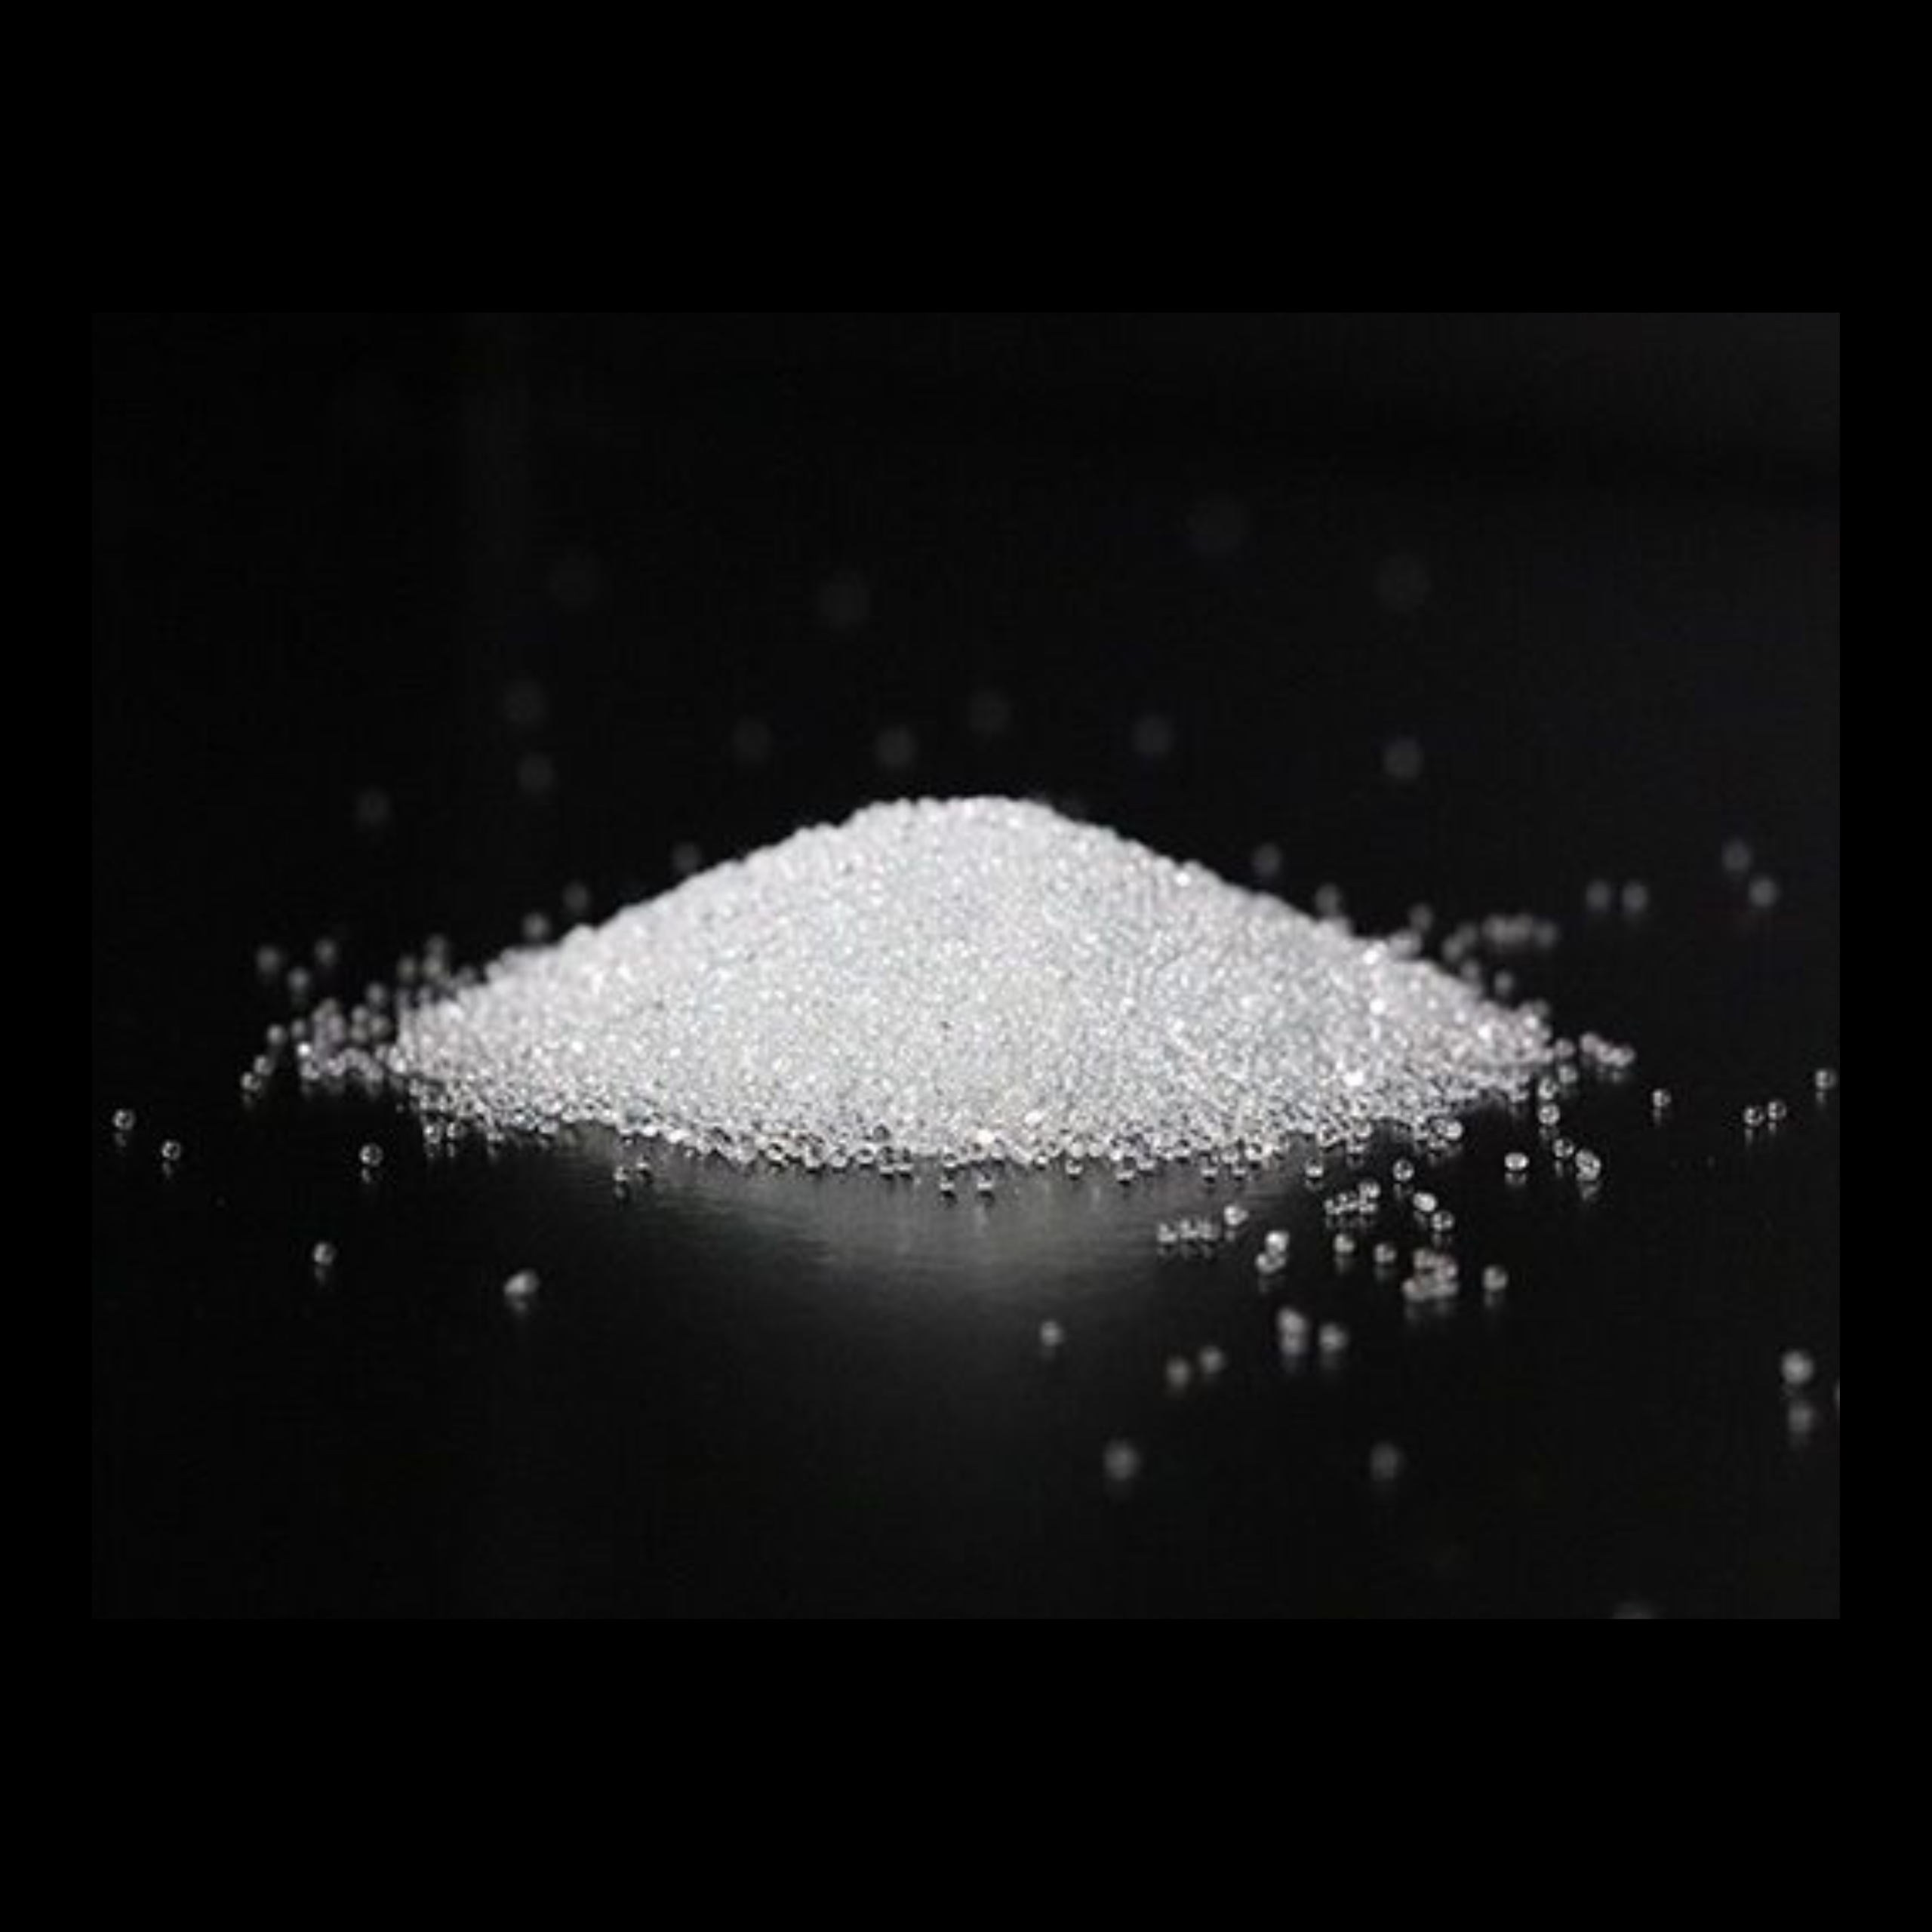
Blasting is one of the most versatile tools we have for reducing surface roughness. The principle is straightforward, you propel abrasive media at the part surface to grind down the peaks and rough texture, but the execution involves a lot of variables. Media type matters: glass bead, ceramic, steel shot, porcelain, and even walnut shells all behave differently and produce different results depending on the hardness of the metal you’re working with. Media size matters: finer media creates a smoother finish but may not be aggressive enough for heavy depowdering. Pressure matters. Distance from the part matters.
Traditional cabinet blasting uses nozzles or manual hand blasting, which gives operators a lot of control but also introduces variability. Newer technologies like BMF take a different approach — parts go into a chamber where they spin on a carousel while a twister and tornado effect creates what’s essentially a sandstorm inside the cabinet. Every surface gets consistent, uniform exposure without any of the variation that comes from a human operator holding a blast nozzle. For shops running consistent part geometries in volume, that kind of uniformity is a real advantage.
Tumbling and Vibratory Finishing
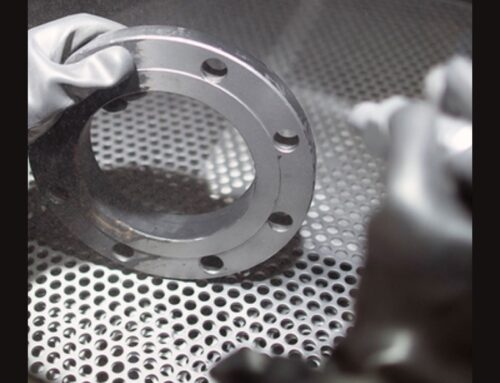
Tumbling and vibratory finishing are gentler, longer-cycle processes that work by immersing parts in media and using motion to gradually wear down surface irregularities. Think of it like the geological process that turns rough river rocks into smooth stones over time, except you’re running it in a controlled industrial environment at a pace you can actually work with. Vibratory finishing is particularly effective for parts with complex internal geometries because the media can flow into areas that a blast nozzle can’t reach.
The tradeoff is time. Some metal 3D printed parts require extended vibratory cycles — 30 hours or more isn’t unheard of for challenging geometries. For a shop running 10 of those parts at once, that’s 300 hours of processing time. It’s not cheap. But when you’re finishing a part that costs $5,000 to $6,000 to print and will sell for $30,000 to $40,000, investing another $4,000 to $5,000 in getting the finish right is a perfectly rational business decision.
Electropolishing and Shine Finishing
For parts that need more than a smooth surface, parts that need to be smooth and visually refined, shine finishing takes the result another step. These systems are designed to bring metal surfaces to a polished, almost mirror-like finish. That level of finishing is relevant for medical applications where surface quality affects bio-compatibility, for aerospace components that need to meet strict cosmetic and functional standards, and for any premium application where the end customer’s expectation is a part that looks and feels precisely manufactured.
How the Right Process Gets Determined
There is no universal playbook for finishing metal 3D printed parts. There’s no chart you can consult that tells you “part type A + material B = process C.” The right approach for your part is discovered through testing, evaluation, and iteration. That’s not a limitation — it’s just the reality of a material and geometry space that’s still evolving rapidly.
What we have across our process development labs and service locations is the equipment, the expertise, and the hands-on experience to work through that testing process with you. Customers send us parts all the time. Some of them already have a metal 3D printing operation and want to understand how to finish what they’re producing. Some are getting sample parts from OEM printer manufacturers and want to see what’s possible before they commit to equipment investment. Some are simply sending us parts to finish because they’d rather outsource that step entirely and focus on what they do best.
All of those conversations start the same way: tell us what the part needs to do, show us what you’re starting with, and we’ll figure out how to get you there. We’ll blast it, tumble it, try different media, run it through multiple cycles, and measure results along the way. Our people in the shop are constantly pushing the boundaries of what’s achievable, combining processes in ways that aren’t in any textbook — because the parts themselves are unlike anything that existed before additive manufacturing made them possible.
Industries Driving Demand for Metal Additive Post-Processing
The demand for surface finishing expertise in metal additive manufacturing is concentrated in three industries right now, and each one has its own set of requirements.
Aerospace
Aerospace has embraced metal 3D printing faster than almost any other industry. The parts that matter most are often one-off components with geometries that would be impossible or cost-prohibitive to machine traditionally. Lightweighting is a massive driver: when you can print a structural component that uses only 10% of the material a CNC block would require, you’re reducing the weight of aircraft and spacecraft in ways that have real downstream performance implications.
But aerospace also has some of the most demanding surface finish requirements of any industry. Internal channel cleanliness is critical. Aerodynamic surfaces need to perform precisely as designed. And when a part costs tens of thousands of dollars, the expectation is that it looks, feels, and performs at the highest possible standard.
Automotive
Auto manufacturers and their suppliers are using metal 3D printing for design iteration, custom tooling, and increasingly for end-use components. The pace of design changes in automotive, driven by recalls, new model development, and the shift to EV platforms, makes additive manufacturing an attractive option for producing updated parts quickly. When you need two of a specific bracket for a design validation test, you don’t want to wait eight weeks for a machined part. You want it next week, finished and ready to evaluate.
Medical
Medical is arguably the most demanding finishing environment of all. Custom surgical instruments, patient-specific implants, and disposable tooling all require surface finishes that meet both functional and regulatory standards. In some medical applications, surface quality directly affects how tissue interacts with a device or how a fluid flows through a channel. The parts tend to be highly customized and high-value, which means the finishing investment is justified — and getting it wrong isn’t an option.
The Right Finish Starts With the Right Partner
Metal additive manufacturing is moving fast, and surface finishing is one of the areas where the industry is still working through best practices in real time. The companies that figure out their post-processing approach early, whether that means building in-house capability, outsourcing finishing to a proven partner, or some combination of both, will have a meaningful advantage over those who treat it as an afterthought.
We have the equipment, the process development labs, and the application expertise to help you get there. Whether you’re printing your first metal parts and trying to understand what’s possible, or you’re scaling production and need a reliable finishing solution, let’s figure it out together. Send us your part, tell us what it needs to do, and we’ll get to work. Contact a SurfacePrep specialist today.

